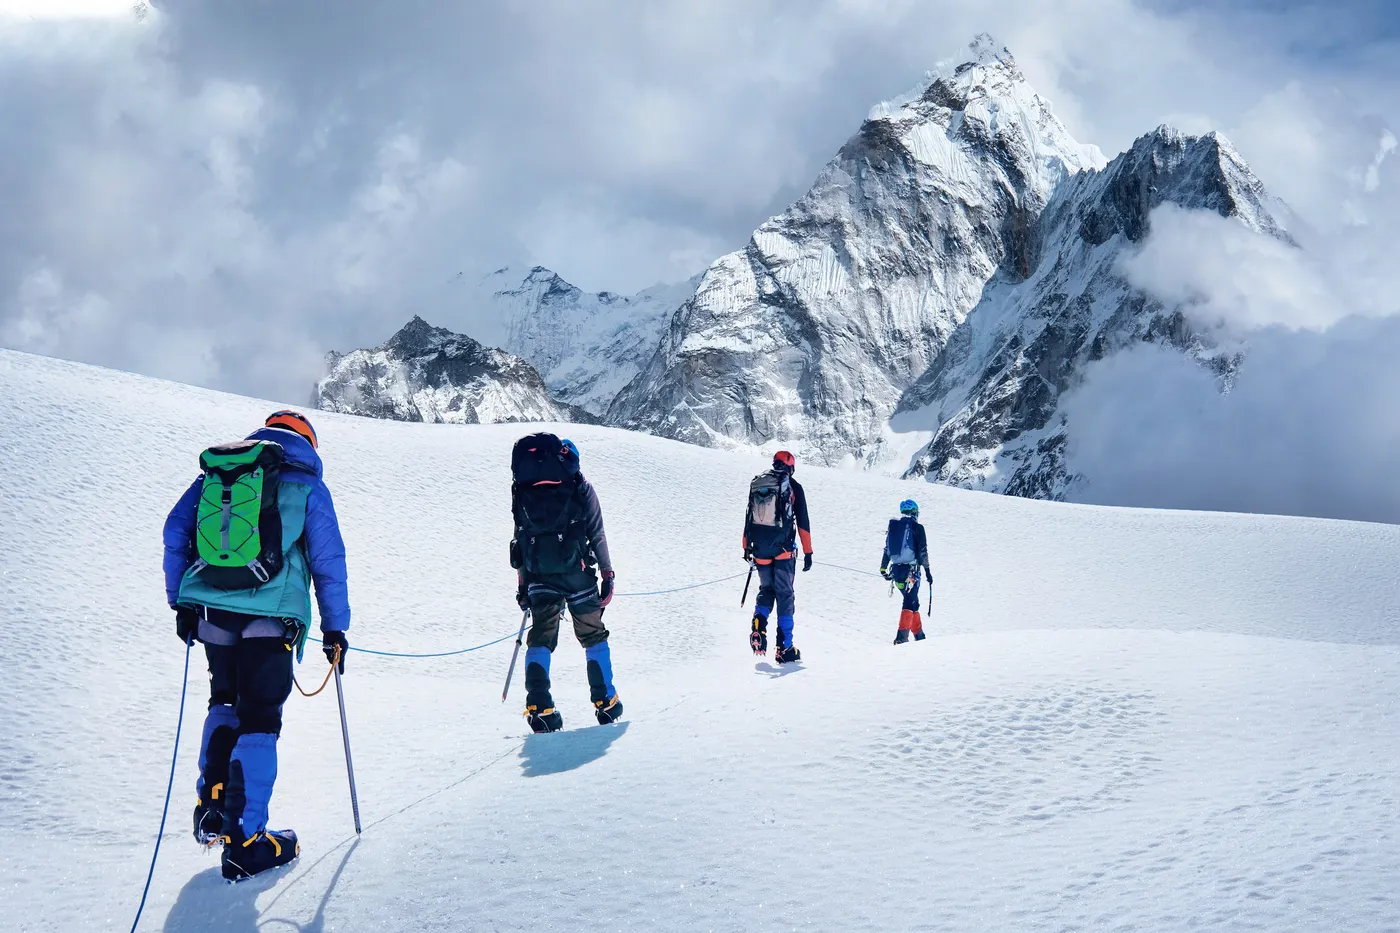

Summit day starts in the dark. You have a pack on your back, but the real fatigue comes on the way down. Arriving at the mountain ready makes the climb both more enjoyable and safer. On this page you will find the basics of mountaineering training, from endurance to strength and from season planning to altitude.
Why do mountains need their own preparation?
Mountaineering is not about speed; it is long, hours-long work that demands endurance. On a summit such as Kaçkar or Erciyes, summit day often lasts 8–12 hours, with more than 1,000 metres of ascent and the same amount of descent. Three things make this load harder:
- The load on your back: a pack makes every step heavier and puts extra strain on your back and knees.
- The descent: on steep descents your leg muscles work as brakes. This is one of the main causes of next-day muscle soreness and knee pain. Joint load, pack weight and descending technique also play a part.
- Terrain and altitude: loose rock, snow and ice demand balance. As you go higher, air pressure drops and each breath brings in less oxygen, so the same pace costs more.
That is why a mountaineer’s training differs from a runner’s. Long, steady endurance, strong legs and good balance come first. Speed and maximum power come second.
Endurance: the base is everything
A mountaineer’s engine is the aerobic system. It is what carries you through a climb lasting many hours, working with oxygen and also burning fat as fuel. Most of your training goes into building this base.
Zone 2: a pace you can talk at
Zone 2 is the second of five training intensity zones (here we use the five-zone model of Uphill Athlete, Steve House and Scott Johnston, in which zone 2 is the pace up to the aerobic threshold): an easy but not lazy pace. The test is simple: if you can chat in full sentences with the person next to you but cannot sing, you are in the right place. If your breathing starts to break up your words, you have gone past this pace; that limit is close to the aerobic threshold. Walking, uphill hiking, easy running or cycling all count as zone 2 training as long as they are done at this pace.
- Duration: most of your weekly training is done at this pace. Sessions are long and steady.
- Finding the threshold: the simplest way is to talk. If your breathing doesn’t break up your words while you chat, you are below the threshold. If you have a heart-rate monitor, there is a more precise test. Walk or run for an hour on a flat road or a treadmill at a comfortable pace, without changing your speed at all. Then compare the average heart rate of the first half hour with that of the second. Even at the same pace, heart rate rises a little over time. If the rise is under 5% (for example from 130 to 136), the pace is most likely below your aerobic threshold. This is a field method; the exact threshold is set by a lab test. If the rise is larger, you went too fast; slow down a little next time.
- A common mistake: making every session “moderately hard”. Easy sessions done too fast don’t build the base; they just tire you out. Going slow is harder than going fast.
Loaded hiking and climbing
You will carry a pack in the mountains, so carry one in training too. Loaded uphill hiking develops your leg muscles’ ability to produce force for a long time (muscular endurance).
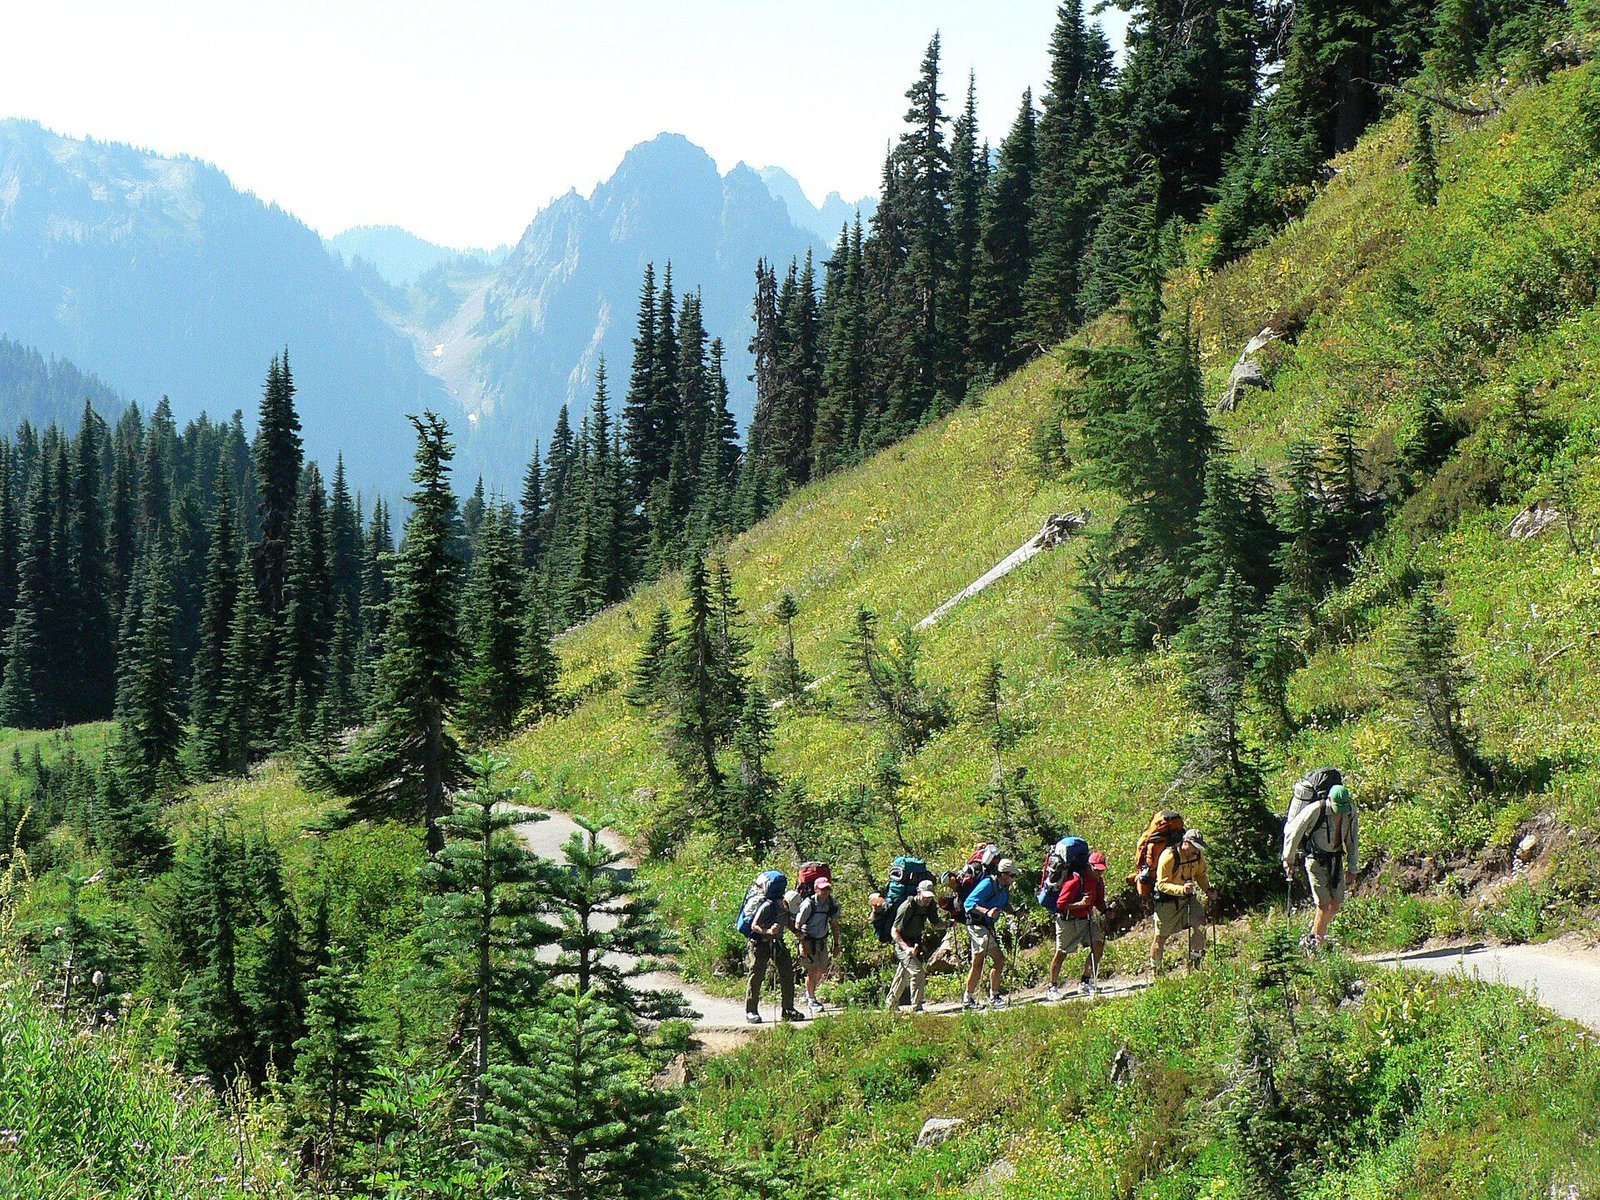
- Starting load: about 10–15% of body weight.
- Progression: each time, increase either the load or the duration a little, not both. Sessions can start at one hour and build to four hours at an advanced level.
- Frequency: leave at least a week between these hard sessions.
- Target: go slightly above the load you will carry in the mountains, not far above it.
- No mountain nearby: apartment stairs, high step-ups, an inclined treadmill or a stair machine will do the job.
Tip: add weight with water bottles. Pour the water out at the top and descend light to protect your knees.
Strength and leg endurance
Strength training is not about making a mountaineer bulky; it is about making every step cheaper. Strong legs tire less under load, close the weak links and lower the risk of injury. Two sessions a week are enough.
Basic exercises
| Exercise | What it works | In the mountains |
|---|---|---|
| Squat | Thighs, hips | Climbing uphill, lifting a pack off the ground |
| Step-up | Single-leg strength, balance | High rock steps |
| Lunge | Thighs, hips, balance | Stepping on uneven ground |
| Deadlift | Hamstrings, lower back, back | Carrying loads |
| Calf raise | Calves, ankles | Steep snow and grass slopes |
| Pull-up / row | Back, arms | Ice axe, rope, rock passages |
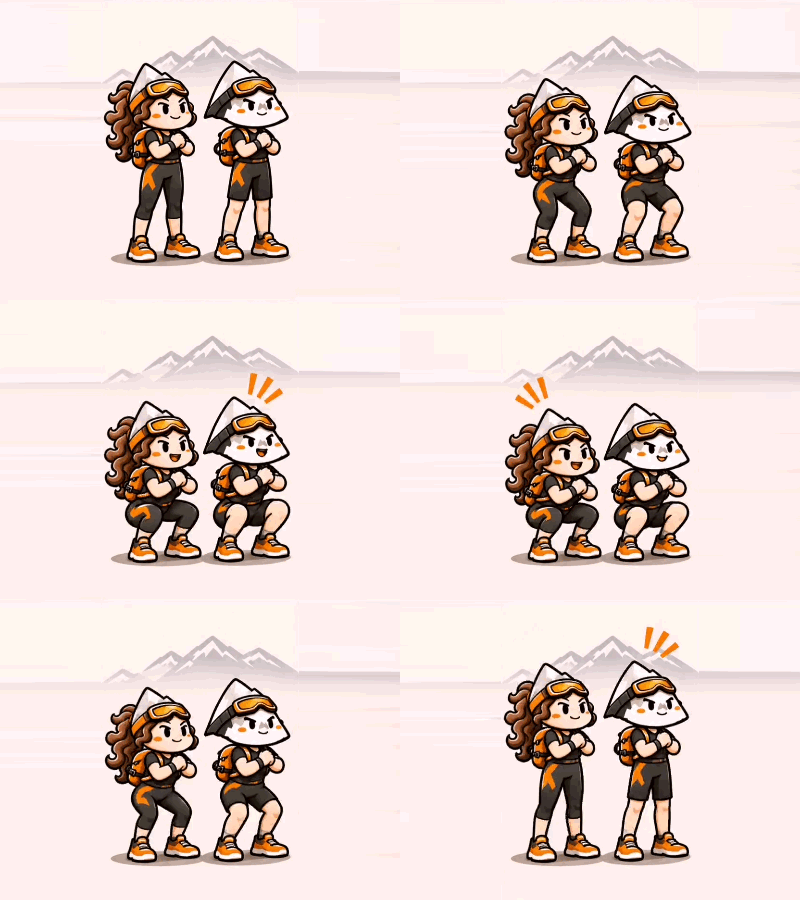
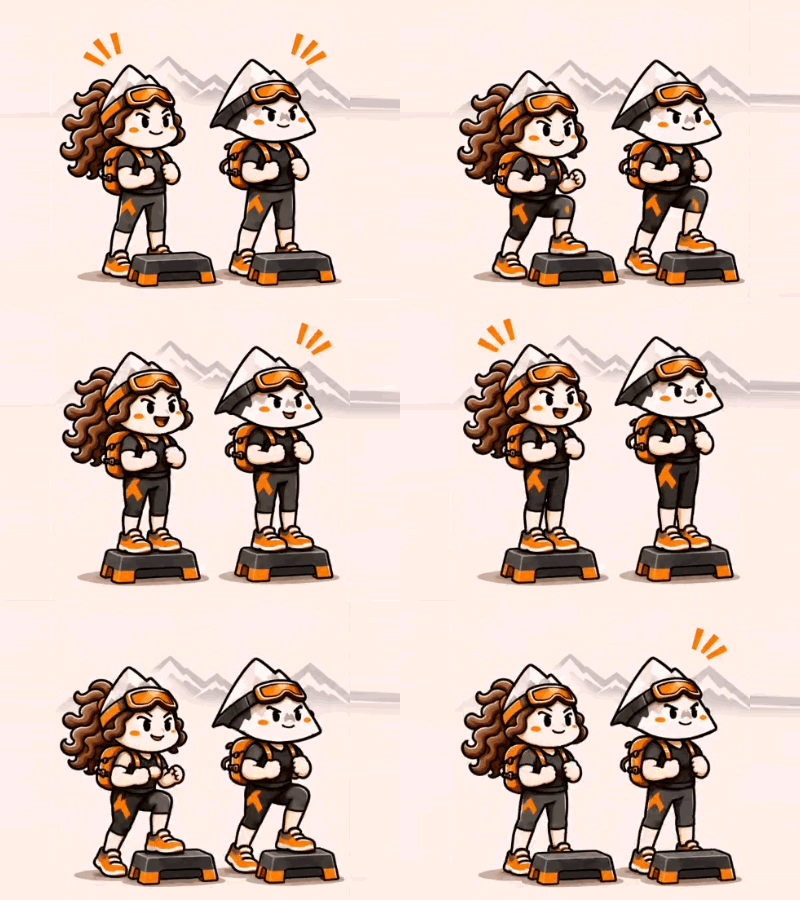
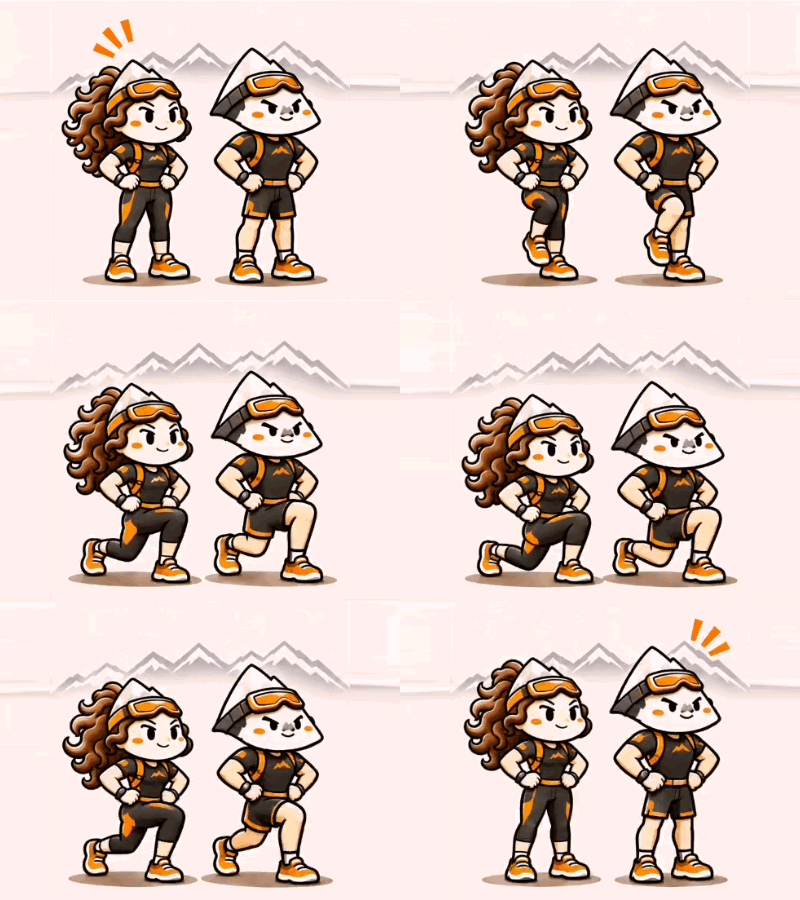
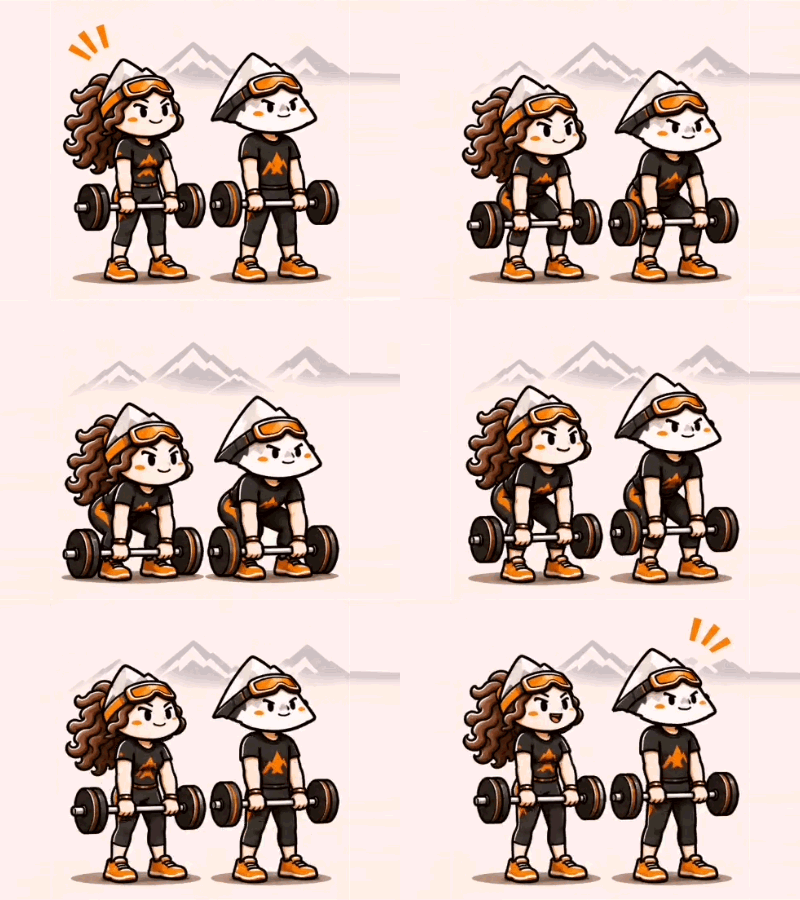

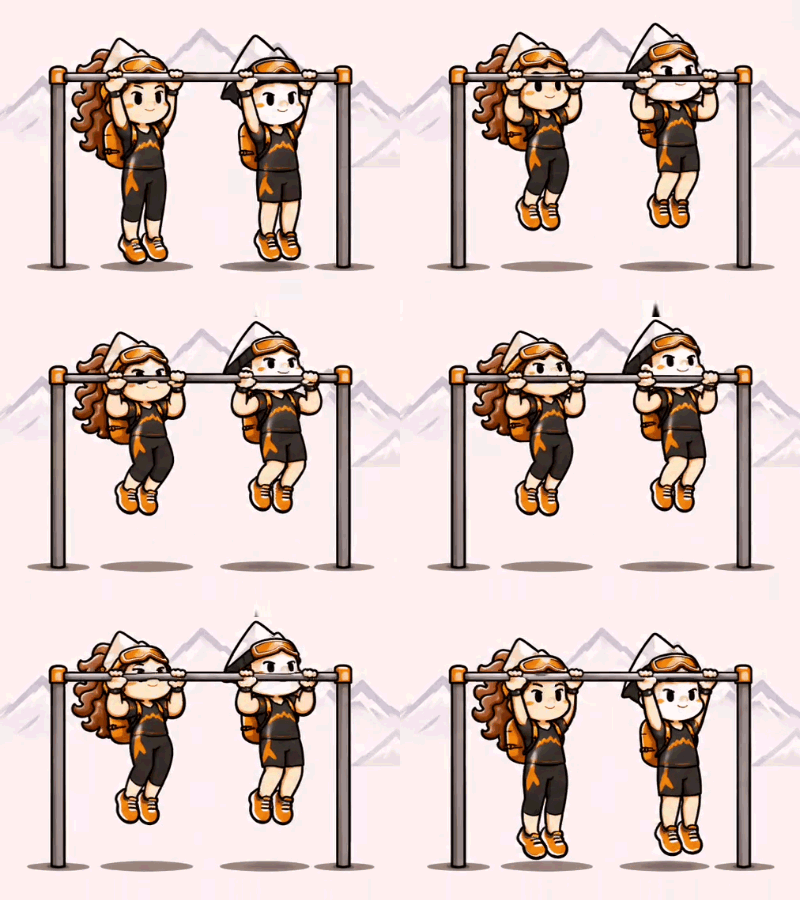
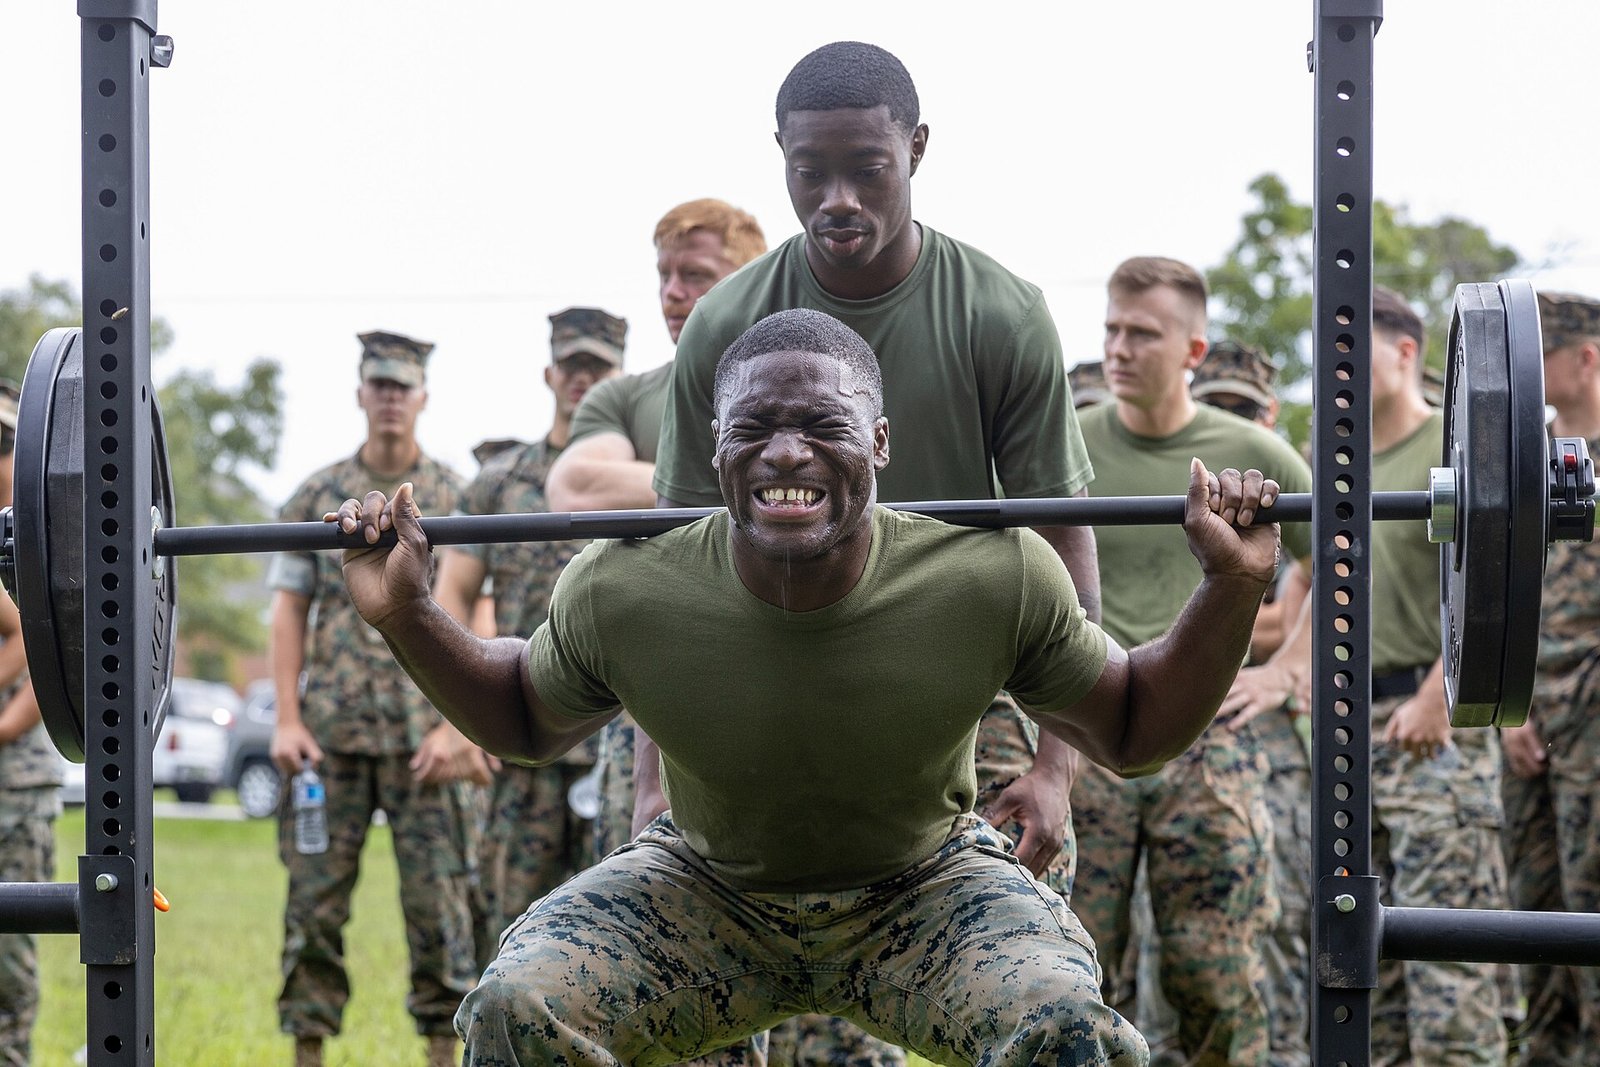
When you start, technique matters more than weight. The first weeks are spent with light loads and clean movement. Weight is added once you have learned the right technique.
Muscular endurance
Once basic strength is built, you need to be able to use it for a long time. For this, the exercises are done with lighter loads, many repetitions and short rests.
A sample circuit:
- 20 step-ups (each leg) with a light pack
- 20 walking lunges
- 30 calf raises
- 1 minute wall sit
Repeat the circuit 3–5 times with short rests in between. This work is the gym equivalent of the loaded uphill sessions above.
Preparing for descents: eccentric work
On descents, muscles contract while lengthening; this is called eccentric contraction. The muscles at the front of the thigh brake with every step. This work takes less breath than climbing but can damage the muscles much more. That is where next-day soreness comes from.
The good news: the body adapts to it quickly. After one descent session, the same descent next time causes much less damage. That is why descending should be added to training gradually before the season.
- Slow lowering: take 3–4 seconds over the lowering part of squats and step-downs.
- Real descents: finish a long hill by walking down it. Stairs work too: taking the lift up and the stairs down is a complete eccentric workout.
- Start small: keep the first descent session short. In later sessions the muscles are affected far less.
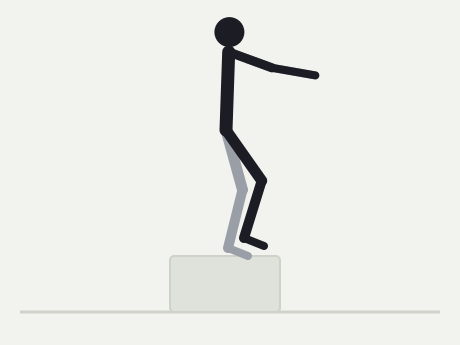
Technique matters too. The UIAA recommends taking short, springy steps on the way down, not running or jumping, and following the bends of the path instead of cutting corners. Poles also reduce the load on the knees, especially with a heavy pack. Using them all the time, however, can weaken your balance; it is best to use them when you need them.
Core, balance and flexibility
Staying on your feet on loose rock, snow and narrow ridges takes balance as much as strength. The core muscles (abdomen, lower back and hips) carry the weight of the pack and keep you balanced. These exercises are short and can be added to the end of strength sessions.
- Core: plank, side plank, dead bug and suitcase carry (walking with a weight in one hand while keeping the torso upright).
- Balance: standing on one foot, with eyes closed or on a soft surface. The single-leg deadlift works both balance and the hamstrings.
- Flexibility and mobility: hips and ankles are especially important. Steep slopes and crampon technique need ankles that flex easily. After training, stretch the hip flexors, hamstrings and calves.
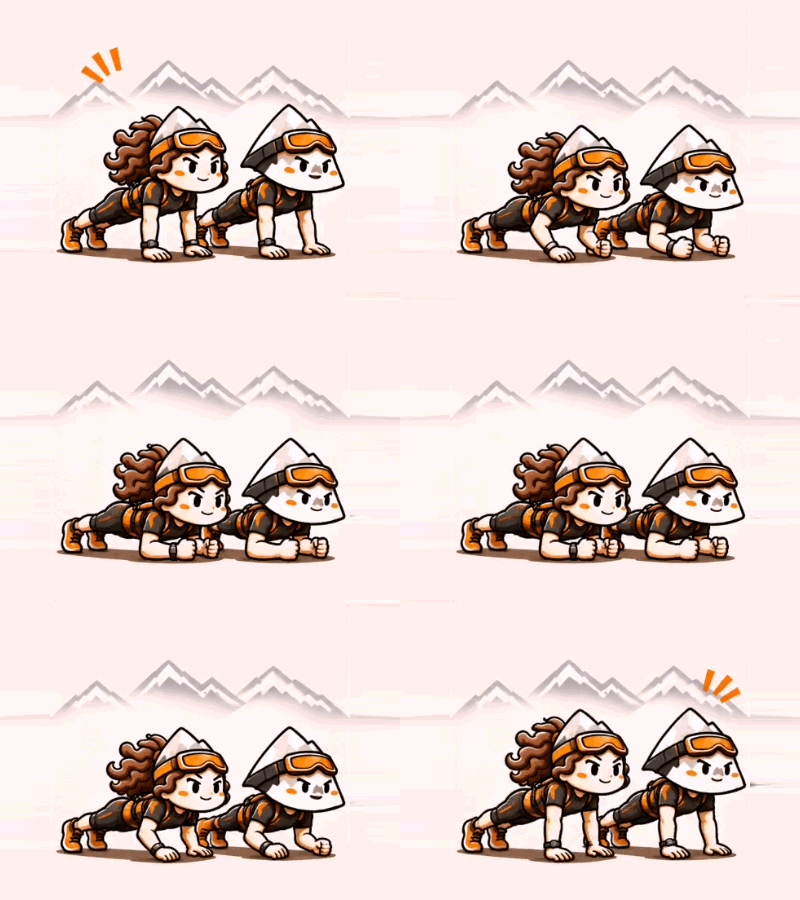
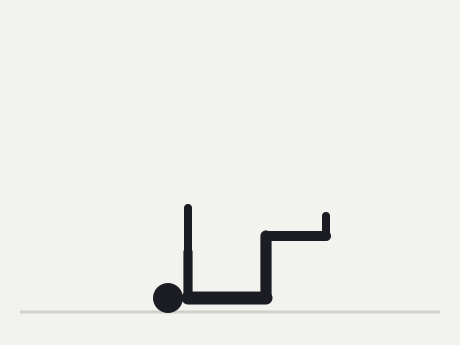
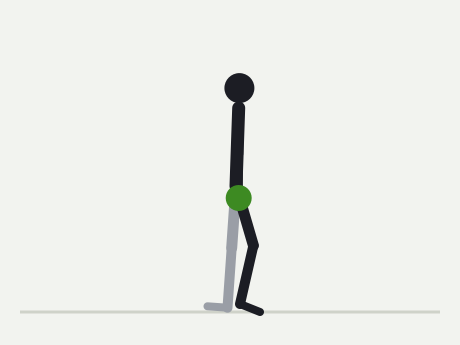

Balance on terrain is best developed on terrain. Leaving the path to walk on rocky, uneven ground naturally trains your ankles and balance.
Planning by season (periodisation)
Instead of trying to improve everything at once, the year is divided into periods. Each period builds on the previous one, so you arrive at your goal climb in top form. The plan is made backwards from the target date; six months is a good lead time for a big climb.
- TransitionGetting used to training: light strength, short zone 2
- BaseThe longest period: plenty of zone 2, maximum strength
- Specific preparationLoaded uphill, muscular endurance, long mountain days
- TaperLast 1–2 weeks: less volume, more freshness
- Goal climb
- RestActive rest after the season, then a new cycle
- Transition: gets the body used to training after a long break. You learn movement technique and find your weak links.
- Base: the longest period. The focus is on zone 2, and strength training gets heavier. There is little or no high-intensity training in this period.
- Specific preparation: training starts to look like the goal: loaded uphill sessions, muscular endurance and long mountain days at the weekend.
- Taper: in the last week or two before the goal climb, sessions get shorter but the pace is not reduced. The body sheds months of accumulated fatigue, and you go to the mountain both rested and fit.
- Rest: a few weeks of free, enjoyable movement after the season. Then a new cycle begins.
Within each period the same rhythm applies, for example three weeks of loading followed by one easy week. In the easy week the volume drops to about half.
Preparing for altitude
Good fitness makes life easier at altitude, but it does not protect you from altitude sickness. Susceptibility to it does not change with training; even the fittest athlete can get headaches, nausea and fatigue. The benefit of fitness is walking the same pace with less effort and recovering better in the tent.

The real protection is to ascend slowly. The UIAA’s general rules:
- Above 2,500–3,000 metres, do not raise your sleeping altitude by more than 300–500 metres a day.
- Every third climbing day (roughly every 1,000 metres), spend an extra night at the same altitude.
- Where possible, don’t sleep at the highest point of the day: “climb high, sleep low”.
- If you feel unwell at altitude, assume it is the altitude until proven otherwise. Do not go higher, and descend at once if you get worse.
What you can do at home is limited. Spending a few days at around 2,500–3,000 metres in the weeks before the trip (for example a weekend on Erciyes or Palandöken) is the easiest way to acclimatise in advance. Methods such as hypoxic tents and masks have limited effect and need expert support.
For details, see the high-altitude section of our Mountaineering page.
Sample weekly plan
The two weeks below are examples for the base period. You can move the days around to suit your calendar. The rule is simple: don’t put two hard days back to back, and keep the weekend for a long mountain day.
Beginner (4–5 hours a week)
| Day | Session |
|---|---|
| Monday | Rest |
| Tuesday | Strength (basic exercises) + core, 45 min |
| Wednesday | Zone 2 walk or bike, 45 min |
| Thursday | Rest or light stretching |
| Friday | Strength + balance, 45 min |
| Saturday | Long hike with a light pack, 2–3 hours |
| Sunday | Rest or an easy 30-minute walk |
Experienced (7–10 hours a week)
| Day | Session |
|---|---|
| Monday | Rest |
| Tuesday | Strength + core, 60 min |
| Wednesday | Zone 2 run or uphill hike, 60–90 min |
| Thursday | Muscular endurance circuit or loaded stairs, 60 min |
| Friday | Rest or an easy 45 min |
| Saturday | Long mountain day with a load, 4–6 hours, finishing with a descent |
| Sunday | Zone 2, 60–90 min |
A sample pattern: make every fourth week an easy week. Total volume drops to about half, the body recovers and gets ready for the next block. The length of the cycle and the load of the easy week are adjusted to the individual.
Recovery and injury prevention
The body gets stronger while resting, not while training. Skip recovery and you lose what you have gained.
- Build up slowly: raise your weekly volume and pack weight step by step, not all at once. Most overuse injuries in mountain sports come from sudden increases.
- Don’t skip the easy week: three weeks of loading, one easy week. A steady rhythm pays off more in the long run.
- Sleep: the harder you train, the more sleep you need. The night before a long mountain day is especially important.
- Nutrition: on long sessions eat a little every 2–3 hours and drink plenty; don’t wait until you are thirsty or hungry. Complex carbohydrates (oat bars, crackers, dried fruit) are good fuel.
- Warm-up: the UIAA recommends walking the first 30 minutes at a slow pace. The same applies in training.
- Listen to pain: muscle fatigue is normal. Sharp joint pain, or pain that lasts for days, is not. In that case reduce the load, and see a specialist if it doesn’t go away.
Be honest with yourself. Choose your goal according to your fitness and health on the day. If you have a chronic condition or are unsure, talk to your doctor before starting a new training programme or going to altitude.
Sources
- Aerobic base and loaded uphill – Uphill Athlete: Training for Mountaineering: Base Training
- Heart rate drift test – Uphill Athlete: Understanding the Heart Rate Drift Test
- Sleeping altitude, warm-up and nutrition – UIAA Medical Commission: 4 x 4 Health Rules for Mountaineers (2008)
- Using poles and descending technique – UIAA Medical Commission: The Use of Hiking Sticks in the Mountains (2021)
- Fitness and altitude illness – CDC Yellow Book: High-Altitude Travel and Altitude Illness
- Gradual ascent – Luks et al.: Wilderness Medical Society Clinical Practice Guidelines for Acute Altitude Illness, 2024 Update
- Adapting to eccentric work – Hyldahl, Chen and Nosaka: Mechanisms and Mediators of the Skeletal Muscle Repeated Bout Effect (2017)
- Weekly strength training – Bull et al.: WHO 2020 Guidelines on Physical Activity and Sedentary Behaviour
- Videos – Uphill Athlete, Alpine Ascents International and OutWork YouTube channels
- Photos – Wikimedia Commons (US National Park Service and US Marine Corps)
- Exercise animations – Strida Spor